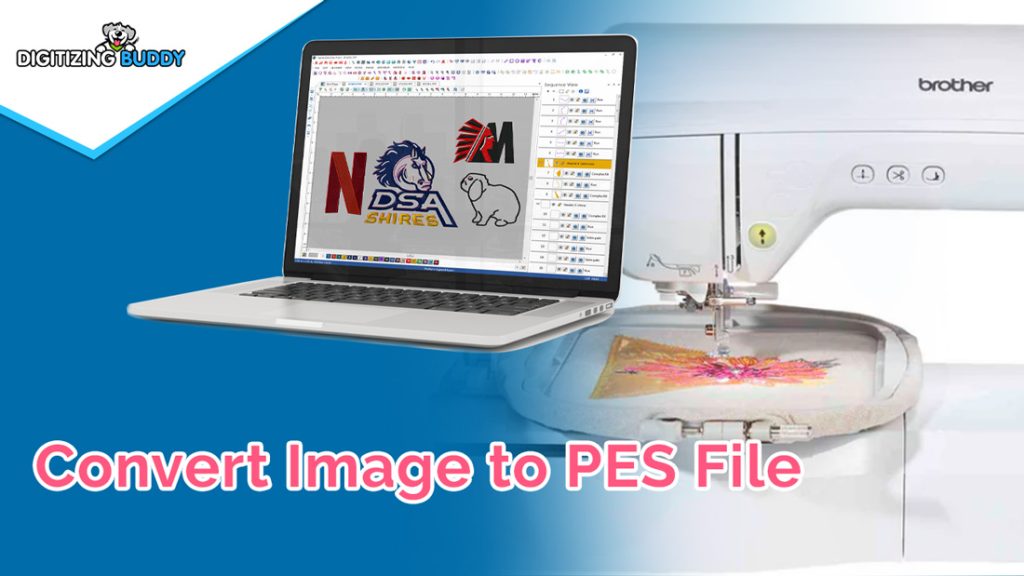
If you’ve ever wanted to turn a favorite image, logo, or artwork into a custom embroidered design, you’re in the right place. Converting an image to a PES file—the format used by Brother and other embroidery machines—might sound technical, but with the right tools and techniques, it’s easier than you think. Whether you’re personalizing a jacket, stitching a company logo, or creating unique gifts, this guide will walk you through the entire process to convert image to PES file and also choosing the right software to troubleshooting common issues.
Why Convert an Image to a PES File?
Embroidery machines don’t work like printers—they can’t simply read a JPEG or PNG and stitch it out. Instead, they need a specialized file (like PES) that contains precise stitch instructions, thread colors, and sequencing. Converting an image to PES involves digitization, where software (or a professional digitizer) translates the image into stitches.
Common Uses for PES Files:
- Custom apparel (hats, jackets, uniforms)
- Promotional merchandise (branded bags, patches)
- Personalized gifts (embroidered portraits, monograms)
- Hobby projects (quilting, home décor)
Without proper digitization, designs can end up distorted, uneven, or missing details. That’s why choosing the right conversion method matters.
How to Convert an Image to PES: Step-by-Step
1. Choose Your Image Wisely
Not all images convert well to embroidery. Simple, high-contrast designs with clean lines (like logos or clipart) work best. Avoid photos with gradients, tiny details, or excessive shading—unless you’re prepared for heavy manual editing.
2. Pick Your Conversion Method
You have two main options:
- Automated Software: Fast but less precise (ideal for simple designs).
- Professional Digitizing: Handcrafted for perfect results (best for complex art).
3. Use Embroidery Software
If you’re DIY-ing, programs like SewArt, Ink/Stitch, or Wilcom Hatch can auto-digitize images. Here’s how it works:
- Import your image (PNG, JPG, SVG).
- Adjust settings (stitch type, density, underlay).
- Preview the design and tweak problem areas.
- Export as a PES file.
4. Test Before Stitching
Always run a test stitch on scrap fabric. This reveals tension issues, thread breaks, or design flaws before committing to the final piece.
Best Software for Image-to-PES Conversion
Free Options:
- Ink/Stitch (Open-source, works with Inkscape)
- SewArt Free Trial (Basic auto-digitizing)
Paid Software:
- Wilcom Hatch (Industry-standard for professionals)
- Embrilliance (Great for hobbyists)
For those who want perfect results without the learning curve, outsourcing to a digitizing service (like Digitizing Buddy) ensures high-quality, machine-ready files.
Troubleshooting Common Problems
- Patchy or Gapped Stitches? Increase stitch density.
- Thread Breaks? Check needle size and tension settings.
- Blurry Details? Simplify small elements or resize the design.
Final Tips for Success
- Start with vector art (SVG) for cleaner conversions.
- Use fewer colors to reduce thread changes.
- For intricate designs, hire a professional digitizer.
With practice, you’ll turn any image into stunning embroidery. Ready to stitch? Grab your software and start creating!


