Introduction
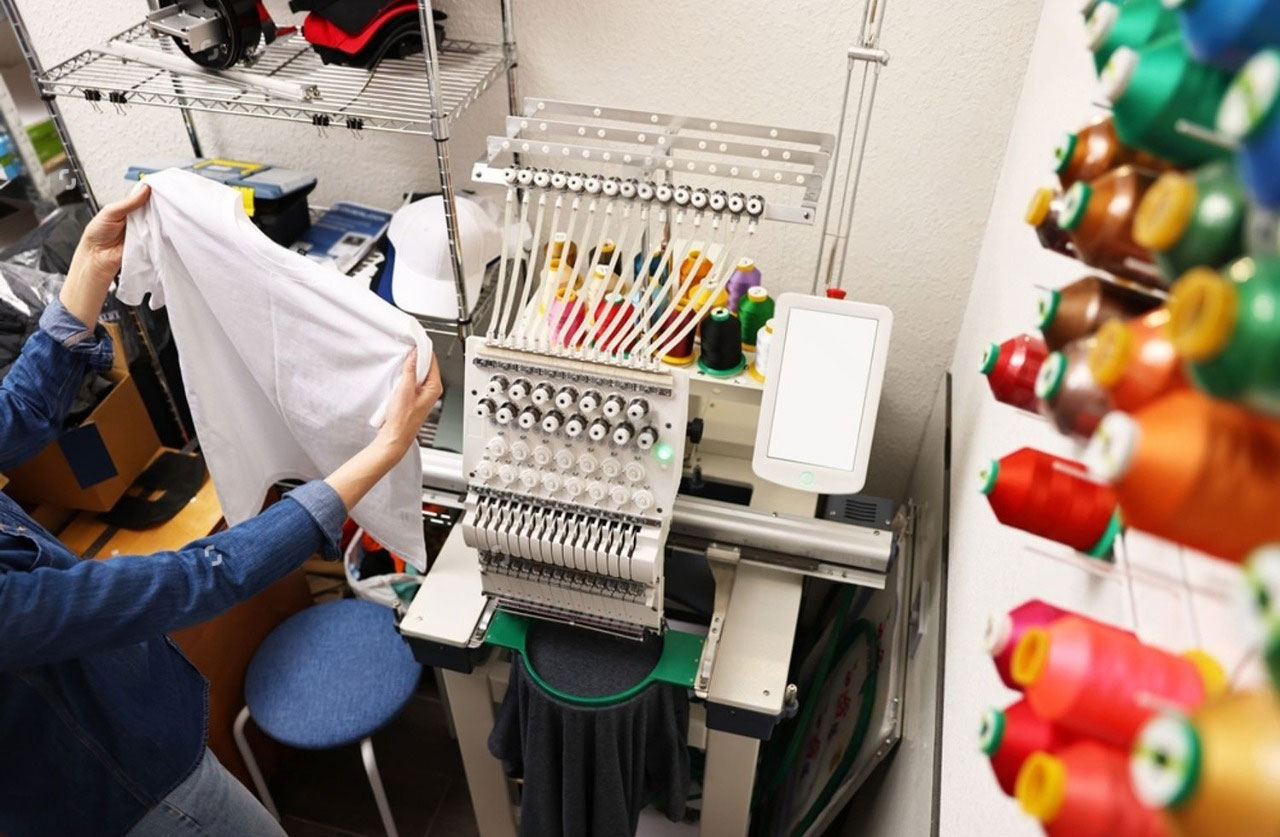
Whether you’re customizing uniforms, launching a merch line, or just adding a personal touch to your brand apparel, embroidery is a timeless, professional way to stand out. But before any thread hits the fabric, there’s a crucial step in the process: digitizing your logo. In this guide, we’ll dive deep into From Logo to Stitches: Finding the Custom Embroidery Digitizing Services for Your Project—a complete walkthrough that helps you understand what logo digitizing is, why it matters, and how to pick the right digitizing service for your needs.
What is Logo Digitizing for Embroidery?
Logo digitizing is the process of converting a digital image (such as a PNG, JPEG, or SVG) into a file format that embroidery machines can read. This file doesn’t just contain the image—it includes detailed stitch instructions: stitch type, direction, density, color stops, underlays, and more.
Why Isn’t a Regular Image Enough?
Embroidery machines need exact coordinates and commands—not pixels. So even the cleanest JPG needs to be “translated” into a stitch language (.DST, .PES, .JEF, etc.).
Why Quality Digitizing Services Matter
Not all digitizing services are equal. A poor-quality digitized file can result in:
- Frayed or uneven stitches
- Misaligned text or logos
- Too-dense stitching that causes puckering
- Poor registration between colors
On the other hand, great digitizing enhances every detail of your design—no matter how complex—into a clean, thread-perfect outcome.
From Logo to Stitches: Finding the Best Digitizing Service for Your Project
Key Considerations When Choosing a Digitizing Service
1. Experience and Portfolio
Always ask to see sample files and stitch-outs. Look for a provider who has worked with designs similar to yours (text, 3D puff, gradients, small details, etc.).
2. Supported File Formats
Your embroidery machine may need a specific format:
- Brother machines typically use .PES
- Tajima machines use .DST
- Janome uses .JEF
Ensure the digitizer can provide the correct format—or multiple formats if you use more than one machine.
3. Turnaround Time
Do you need your design urgently? Some digitizing services offer same-day or 24-hour delivery—but expect to pay extra for the rush.
4. Revision Policies
No one gets it right 100% of the time. Make sure the service offers free revisions if the stitch-out doesn’t match expectations.
5. Pricing Transparency
Beware of “too good to be true” deals. Cheap digitizing often means automated, low-quality output. A professional service typically charges:
- $10–$25 for simple designs
- $30–$60 for moderate complexity
- $75+ for intricate or large designs
Types of Digitizing Services
Freelance Digitizers
Often found on platforms like Fiverr or Upwork, these can be affordable and fast. However, quality can be hit or miss depending on the provider’s experience.
Professional Digitizing Companies
These firms have in-house teams, quality checks, and dedicated customer support. Ideal for brands, apparel companies, and high-volume embroidery shops.
Automated Digitizing Tools
Software like SewArt or online AI tools can convert logos instantly. Good for simple designs, but complex logos often require manual corrections.
How to Evaluate a Digitizing Service
Step-by-Step Checklist
- Check Their Reviews and Testimonials
Are past clients happy with the results? Look for repeat customers or business referrals. - Ask for Samples or Portfolio
Can they show stitch-outs from similar designs? - Clarify File Format Needs
Do they offer the format your machine requires? - Understand Their Process
Is the work manually digitized or auto-converted? - Request Pricing and Timeline Up Front
Avoid hidden charges or vague turnaround windows.
What Makes a Good Digitized Logo?
Stitch Type Selection
- Satin stitches for borders and letters
- Fill stitches for large areas
- Running stitches for fine lines and outlines
Underlay Usage
This is the “foundation” for top stitches and helps prevent fabric puckering.
Color Sequencing
Correct thread color order reduces machine thread breaks and enhances design clarity.
Common Mistakes to Avoid When Choosing a Digitizer
- Going for the cheapest option without checking quality
- Not providing high-res or vector logo files
- Ignoring stitch count (affects price and production time)
- Not requesting test runs or previews
- Forgetting to ask for machine compatibility
From Logo to Stitches: Finding the Best Digitizing Service for Your Project – Real-World Tips
Tip 1 – Simplify Your Logo (If Possible)
Removing gradients or minimizing very tiny text helps reduce stitch complexity and cost.
Tip 2 – Always Run a Test Stitch First
Even the best file may need tweaks depending on fabric type and thread tension.
Tip 3 – Ask About Bulk Discounts
Some services offer lower rates if you digitize multiple logos or variations at once.
Questions to Ask Before Hiring a Digitizing Service
- How long have you been digitizing logos?
- Can you show me recent examples of work?
- What file formats do you provide?
- What’s your average turnaround time?
- Do you offer revisions or test stitch feedback?
- Do you adjust files based on the fabric or thread type?
Conclusion
Choosing the right digitizing service is a critical step between having a great logo and seeing it flawlessly embroidered onto apparel. The transition From Logo to Stitches: Finding the Best Digitizing Service for Your Project doesn’t have to be overwhelming—when you know what to look for, what to avoid, and how to evaluate your options, you’re set up for success.
Whether you go with a solo freelancer, a full-service digitizing firm, or decide to experiment with DIY software, remember this: a good digitized logo can make or break the final stitch.


